1. Introduction: Why Dividend Stocks Matter More Than Ever in 2025
In 2025, financial freedom no longer means owning rental properties or chasing crypto pumps.
It means one thing: predictable, consistent income you can rely on.
And that’s where dividend stocks come in.
These stocks pay you a portion of their profits on a regular basis—most often quarterly, but some even monthly.
They don’t care if you’re working or sleeping. They just pay. Like clockwork.
But why are dividend stocks even more important today?
- Interest rates remain high — meaning bonds aren’t the only income game in town
- Housing is unaffordable — not everyone can drop $300K on a second property
- Inflation is sneaky — you need income that grows over time, not stays flat
Whether you’re looking for:
- Early retirement
- A second income stream
- Or just money that shows up on time…
Dividend stocks are the most practical passive income vehicle available today.
And in this post, we’ll break down 5 of the best U.S. dividend stocks that can actually help you create monthly income in 2025—even if you’re starting small.
2. What Makes a Good Monthly Income Stock?
Before diving into specific stocks, let’s get clear on what we’re actually looking for.
A good monthly income stock must check at least three boxes:
1. High and Reliable Dividend Yield
- Not just high—but sustainable
- 5%–8% is a solid range for income
- Watch out for “too good to be true” 12–15% yields (often a red flag)
2. Consistent Payment History
- At least 5–10 years of uninterrupted payouts
- Even better if they’ve increased dividends during recessions
3. Staggered Payout Schedules
- If you’re aiming for monthly income, owning stocks that pay in different months helps create a steady cash flow
- We’ll show you a calendar in Section 8
Bonus points if the company is:
- In a stable industry (utilities, telecom, healthcare)
- Shareholder-friendly with clear dividend policies
- U.S.-based and has solid fundamentals
Most importantly, we’re not here to gamble.
We’re here to build dependable income—and that requires smart selection.
3. Stock #1: Realty Income (Ticker: O) – The Monthly Dividend Giant
Realty Income isn’t just any REIT (Real Estate Investment Trust).
It’s THE REIT.
Nicknamed “The Monthly Dividend Company,” Realty Income has:
- Paid dividends every month since 1994
- Increased its dividend over 120 times
- Delivered compounded total returns of 14%+ over decades
What do they do?
- Owns over 13,000 commercial properties
- Tenants include Walgreens, 7-Eleven, FedEx, and Dollar General
- Mostly recession-resistant businesses
Dividend Stats (2025):
- Current yield: ~5.4%
- Monthly payout: Approx $0.26/share
- Dividend growth: Average +3–4% annually
Why it’s ideal for monthly income:
- Pays every month, not quarterly
- Extremely stable cash flow
- Real estate exposure without owning property
Good For:
- Investors who want true passive income
- Retirees or FIRE followers
- Anyone looking to replace rental income
Realty Income isn’t flashy—but it’s consistent.
And in the income game, consistency wins.
4. Stock #2: Main Street Capital (Ticker: MAIN) – Steady Income for Everyday Investors
If Realty Income is the king of real estate dividends, Main Street Capital is the quiet hero of business lending.
What is MAIN?
- A Business Development Company (BDC) based in Houston, Texas
- Provides loans and equity to small-to-mid-sized U.S. businesses
- Functions like a “mini private equity firm for the public market”
Dividend Stats (2025):
- Current yield: ~6.8%
- Pays monthly dividends
- Bonus: Occasionally issues special dividends (extra cash payouts)
Income Example:
- $10,000 investment → ~$680/year
- That’s roughly $56/month in passive income
Why it works:
- Strong track record through economic cycles
- Diversified income sources from 180+ portfolio companies
- Internally managed (lower fees = more for investors)
Good For:
- Beginners looking for above-average monthly cash flow
- People who want diversification beyond stocks and bonds
- Investors seeking mid-risk, high-trust income plays
MAIN quietly outperforms many of its peers—and it rewards loyalty with monthly cash.
5. Stock #3: Verizon Communications (Ticker: VZ) – Telecom Powerhouse with Reliable Yield
While tech stocks tend to focus on growth, Verizon stands out for stable, high-yield dividends.
What does Verizon do?
- One of the “Big Three” U.S. telecom companies
- Generates steady cash from mobile plans, internet, and business services
- Massive customer base = recurring revenue
Dividend Stats (2025):
- Current yield: ~6.5%
- Quarterly payout: ~$0.66/share
- Payout ratio: ~50–60% (sustainable)
Income Simulation:
- $10,000 in Verizon stock → ~$650/year
- Paid quarterly → $162.50 every 3 months
- With dividend reinvestment, this snowballs fast
Stability Factors:
- Defensive sector (people pay for phones, even in recession)
- Cash flow visibility
- Strong network assets + 5G investments paying off
Good For:
- Long-term holders who want reliable, low-volatility yield
- Anyone needing quarterly income to balance monthly cash flow
- Investors who value brand + balance sheet strength
Verizon won’t double your money overnight—
but it might just quietly pay your utility bill every month for the next 10 years.
6. Stock #4: AbbVie (Ticker: ABBV) – High Yield from Healthcare
When it comes to long-term dividend reliability, few sectors match healthcare.
And AbbVie stands out as a top pick in 2025.
What is AbbVie?
- Global biopharmaceutical company
- Best known for blockbuster drugs like Humira, Skyrizi, and Rinvoq
- Focused on immunology, oncology, and neuroscience
Dividend Stats (2025):
- Current yield: ~4.2%
- Quarterly payout: ~$1.55/share
- Dividend increased 51 consecutive years (Dividend King)
Why it’s powerful for income:
- Healthcare demand is recession-proof
- Consistent R&D = drug pipeline = long-term revenue
- Acquired Allergan (Botox maker) = expanded cash flow base
Passive Income Example:
- $10,000 investment = ~$420/year
- With quarterly payout = $105 every 3 months
Good For:
- Dividend growth investors
- Healthcare believers
- People seeking stable, growing income in volatile markets
AbbVie combines stability + dividend growth, making it a strong core holding in any income portfolio.
7. Stock #5: Altria Group (Ticker: MO) – Controversial but Consistent Payouts
Tobacco may be a declining industry—but Altria still pays like a king.
It’s controversial, yes. But from an income investor’s point of view, it’s hard to ignore.
What is Altria?
- U.S. tobacco giant behind Marlboro, Black & Mild, and others
- Holds stakes in JUUL, Cronos (cannabis), and Anheuser-Busch
Dividend Stats (2025):
- Current yield: ~9.0%
- Quarterly payout: ~$0.98/share
- 50+ year dividend history
The Case for (and against) MO:
Pros:
- Massive cash flow
- Extremely high yield
- Loyal dividend base
Cons:
- Shrinking customer base
- Regulatory risk
- ESG concerns
Income Simulation:
- $10,000 invested = $900/year
- That’s $225 every 3 months
Good For:
- Yield-focused investors
- Income now > growth later
- People who understand the risks and want consistent cash
MO isn’t for everyone. But for investors seeking maximum yield in a relatively stable business, it’s still a top-tier pick.
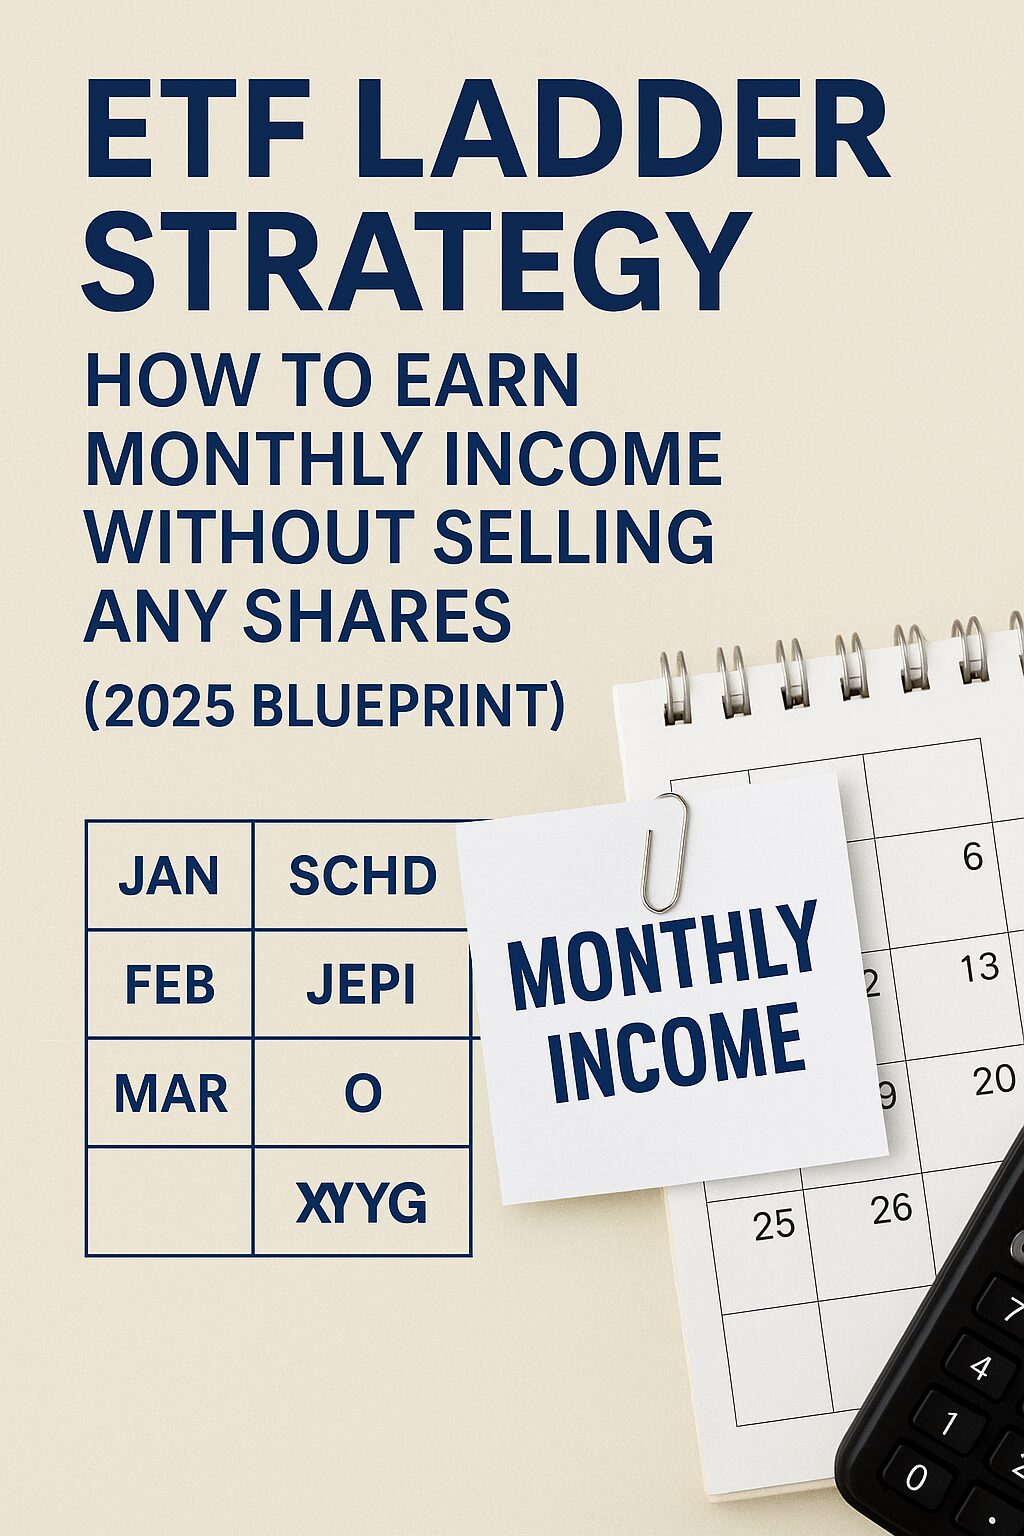
8. Dividend Calendar: How to Build a Monthly Paycheck with These 5
Want income every single month—not just quarterly surprises?
You can create a DIY dividend paycheck system by staggering stocks based on their payout months.
Let’s break down when each of our 5 picks pays:
| Month | Stock(s) Paying Dividends |
|---|---|
| January | ABBV, MO, VZ |
| February | MAIN |
| March | O, ABBV, MO, VZ |
| April | MAIN |
| May | O, ABBV, MO, VZ |
| June | MAIN |
| July | O, ABBV, MO, VZ |
| August | MAIN |
| September | O, ABBV, MO, VZ |
| October | MAIN |
| November | O, ABBV, MO, VZ |
| December | MAIN |
Bonus: Realty Income (O) pays every month, so you’ll never have a gap.
By combining stocks that pay in different months, you ensure that at least 1–2 dividend checks arrive monthly.
You’ve just built a DIY dividend ladder—a system used by many to simulate a paycheck from stocks.
9. Risks to Watch: What Could Go Wrong with Dividend Stocks?
No investment is risk-free—even dividend stocks.
Here are the top risks you should understand before diving in:
1. Dividend Cuts
- High yields may seem attractive, but they’re sometimes unsustainable
- Always check payout ratios and recent earnings trends
2. Share Price Volatility
- Stocks can drop—even if dividends stay stable
- Example: Rising interest rates = lower stock valuations = paper losses
3. Sector-Specific Risk
- Altria faces regulation
- AbbVie relies on patent expiration cycles
- REITs like Realty Income depend on real estate trends
4. Tax Implications
- Dividends are taxable (unless in a tax-sheltered account like an IRA)
- Know your country’s tax rules for foreign dividends (especially U.S. withholdings)
How to Reduce Risk:
- Diversify across industries (as this guide shows)
- Don’t chase yield blindly—verify safety
- Use dividend reinvestment plans (DRIP) for growth until you need the cash
The key?
Know what you own—and why you own it.
Income is powerful, but only when it’s built on strong foundations.
10. Step-by-Step: How to Build Your Own Monthly Dividend Portfolio
Here’s how to go from zero to your first dividend paycheck—step-by-step:
🪜 Step 1: Choose a Free Investment Platform
Look for zero-commission brokers like:
- Charles Schwab
- Fidelity
- Webull
- SoFi
- Robinhood
Make sure they support U.S. dividend stocks and dividend reinvestment options.
🪜 Step 2: Buy the 5 Core Stocks
Start with small amounts if needed. Here’s an example allocation:
| Stock | Allocation |
|---|---|
| Realty Income (O) | 20% |
| Main Street Capital (MAIN) | 20% |
| Verizon (VZ) | 20% |
| AbbVie (ABBV) | 20% |
| Altria (MO) | 20% |
→ $1,000 total? That’s just $200 per stock
→ Add monthly as you build momentum
🪜 Step 3: Turn On DRIP (Optional)
Activate Dividend Reinvestment Plans so your earnings are automatically used to buy more shares—maximizing growth until you need cash flow.
🪜 Step 4: Track a “Dividend Calendar”
Use a spreadsheet or free tools like Seeking Alpha or DivTracker to see when and how much you’ll be paid.
It’s extremely motivating to see your money working while you sleep.
🪜 Step 5: Automate and Expand
Once it’s running:
- Automate monthly deposits
- Expand into other dividend-paying sectors or international stocks
- Consider bond ETFs or covered-call ETFs to diversify income further
This isn’t gambling.
It’s a repeatable system anyone can build—and it works.
11. Conclusion: Financial Peace Through Consistent Cash Flow
In a noisy world of speculation, risk, and hype, dividend investing offers something rare:
Peace of mind.
These 5 stocks won’t make you rich overnight.
But they can do something more powerful—they can pay your phone bill, your groceries, your rent, every single month.
And over time?
That’s how wealth is truly built:
- Not by luck
- But by systems
- And consistency
If you’ve made it this far, you’re already ahead of 95% of people chasing shortcuts.
Now imagine this:
Each month, your portfolio pays you—just like a paycheck.
Except this time, you’re the boss.