The Smart Blogger’s Guide to Monetizing Evergreen Posts (Step-by-Step)

A young woman with a calm expression sits at a minimal desk with a journal titled “Smart Blogger’s Guide to Monetizing Evergreen Posts.” The environment is soft-lit and focused, suggesting strategy and blogging.

Evergreen blog content is powerful. It brings in readers year after year. But how do you turn those page views into real income?
This guide walks you through a proven, step-by-step strategy to monetize your evergreen blog posts for long-term passive earnings.

Let’s break it down into a simple 5-part system.


Step 1: Identify Your Evergreen Winners

Not all blog posts are equal. Some will naturally perform better over time.
Start by looking at your Google Analytics or Search Console to find:

  • Posts with the most traffic over 90+ days
  • Posts ranking on page 1 of Google for stable keywords
  • Posts with steady Pinterest impressions/clicks

Action: Make a list of your top 5–10 evergreen performers. These are your “monetization targets.”


Step 2: Add High-Intent Affiliate Links

Affiliate marketing works best when it feels natural — not forced. Choose affiliate products or services that directly match your post’s purpose.

Examples:

  • A budgeting post → recommend a finance app like RocketMoney
  • A blog setup guide → promote hosting like Bluehost or SiteGround
  • A productivity article → link to Notion or Trello templates

Use shortcodes or plugins (like Pretty Links) to track clicks.

Pro Tip: Add context like “I personally use this” or “This saved me 5 hours a week.”


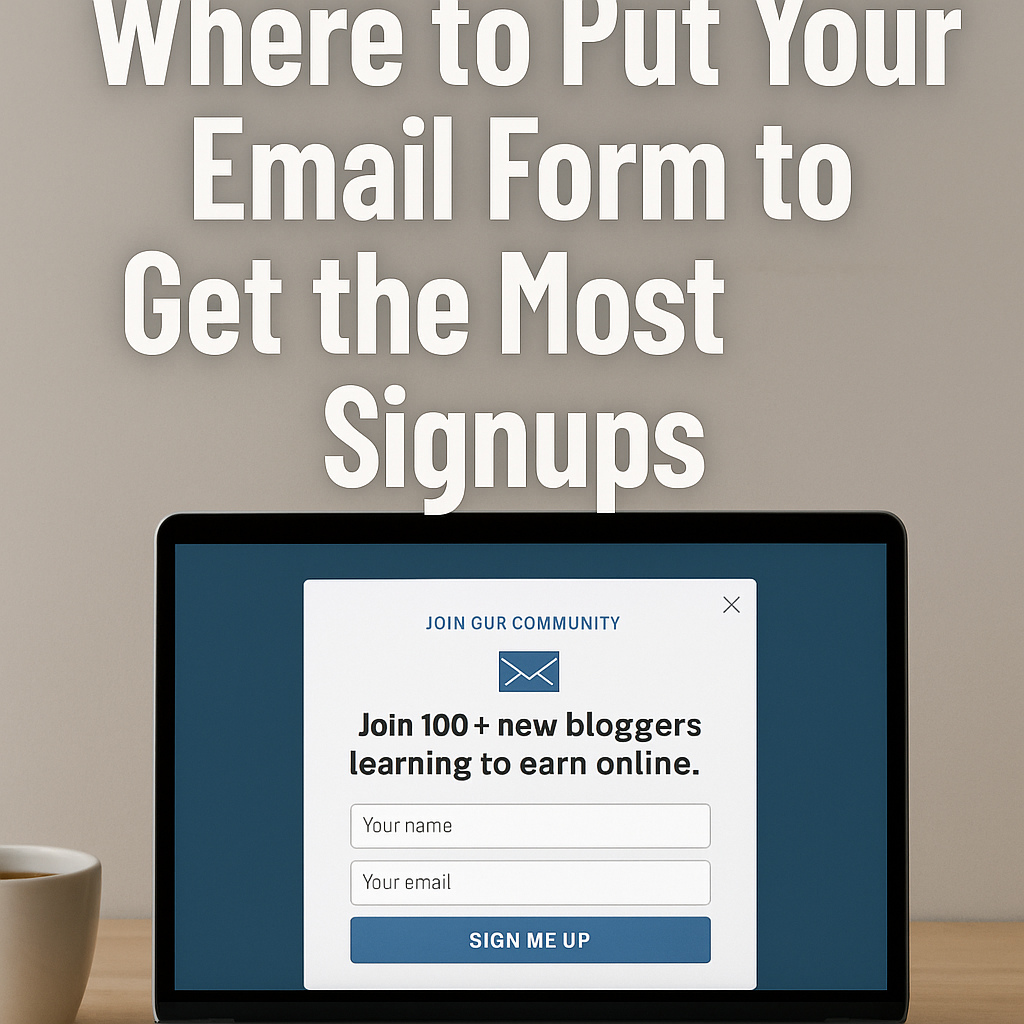
Step 3: Insert an Email Opt-In That Matches the Topic

Long-term profit comes from email lists. Offer a content upgrade that relates directly to the post.

Ideas:

  • A printable checklist (PDF)
  • A free mini-course or email series
  • A simple template (Notion, Excel, Canva)

Place opt-ins:

  • Mid-post (after a value section)
  • Bottom of the article
  • Exit popup (optional)

Use tools like ConvertKit, Beehiiv, or MailerLite.


Step 4: Promote a Low-Ticket Product Inside the Post

If you’ve built even a small audience, consider adding your own digital product inside your most-visited posts.

Examples:

  • $7 productivity planner PDF
  • $9 mini eBook on side hustles
  • $15 niche blogging guide

Keep it relevant, helpful, and directly tied to the blog content. Use Gumroad, Lemon Squeezy, or Payhip to sell.

Bonus Tip: Add a mockup image or button to increase clicks.


Step 5: Optimize for SEO + Internal Linking

The more people find your post, the more monetization opportunities you have.

SEO Checklist:

  • Main keyword in title, intro, and 1–2 subheadings
  • Short paragraphs and bullet lists
  • Alt text for images
  • Fast page speed (test with PageSpeed Insights)

Internal Linking Tips:

  • Link from newer blog posts to your evergreen content
  • Add “related post” sections
  • Use a pillar post to group similar content

This improves your authority, rankings, and user time on site.


Final Thoughts: Stack, Test, Scale

Monetizing evergreen blog content is not a one-time setup — it’s an evolving strategy.

Start with this system:

  1. Find the top-performing evergreen posts
  2. Add affiliate links naturally
  3. Build an email list with related offers
  4. Sell a low-ticket product
  5. Improve SEO and internal traffic

Then review your performance every 3 months:

  • Which affiliate links get clicks?
  • Which email opt-ins convert?
  • Which posts should get more backlinks?

Small changes compound.
And with evergreen traffic, your income stacks month after month.

Start simple. Monetize one post today.
Refine. Repeat.
Watch it grow — for years.


Next Post Preview:
“How to Build an Email List from Evergreen Blog Content (Even with Low Traffic)”

Build Your First 100 Email Subscribers From Scratch – A Beginner’s Complete Guide

A laptop on a clean wooden desk showing a simple email signup form on screen, inviting users to join 100+ bloggers, with a coffee mug beside it

So you’ve launched a blog, maybe posted a few articles, but no one’s coming back. Why? Because without an email list, every visitor is a stranger who disappears. If you want to turn your blog into a real income-generating platform, email is where it starts.

This guide is for complete beginners. No prior experience, no paid tools, no fluff. Just the real, practical steps to build your first 100 subscribers from zero.


1. Why Email? Why Now?

Social media followers aren’t yours. Search engine rankings change. But email? You own that list. It’s a direct line to people who chose to hear from you. More importantly, email converts better than any other channel — whether you’re selling products, sharing affiliate links, or driving traffic back to your blog.

Even just 100 engaged subscribers can bring in hundreds of dollars per month. The earlier you start, the better.


2. Choose Your Tool (No Cost)

If you’re just starting, don’t overcomplicate it. Use MailerLite or ConvertKit (Free Plan). Both are:

  • Easy to use (drag and drop)
  • Free for up to 1,000 subscribers
  • Include email automation and form builders

Setup Steps:

  1. Create a free account
  2. Create your first form (start with “embedded” or “pop-up”)
  3. Connect the form to a subscriber group or tag
  4. Create a simple “Welcome Email” automation

You don’t need a fancy website yet — just a blog post or landing page to embed the form.


3. What Will Make Someone Subscribe?

Answer this first: why should someone give you their email?

The answer is: VALUE.

That means you need a lead magnet — a freebie that solves a specific problem for your ideal reader. Here are examples that work:

  • A checklist: “5 Tools Every Beginner Blogger Needs”
  • A quick PDF guide: “How I Got 1,000 Visitors in 7 Days Without Ads”
  • A mini-template: “Blog Post Format That Converts Readers to Subscribers”

You can create it in Google Docs or Canva. Then export to PDF and upload to Google Drive. Share the link in the welcome email.


4. Where to Place Your Opt-in Form

Don’t just place one form and expect magic. You need visibility.

Put your form in these three spots:

  1. Top of your homepage – even above the blog content
  2. End of every blog post – right when they’ve received value
  3. Standalone sign-up page – like yoursite.com/free-guide

Add call-to-action text like:

  • “Get the free checklist to start your blog the smart way”
  • “Join 100+ new bloggers learning how to earn online”

5. Write a Great Welcome Email

The welcome email builds trust immediately. Keep it short, friendly, and helpful.

Sample:

Subject: Here’s Your Free Guide + What’s Coming Next

Hey [Name], thanks for subscribing! You can download your free guide here: [link]

I’ll be sending one short email each week with a tip to grow your blog and income — no spam, just help.

Let’s grow together!


6. Traffic? Start With Your Circle + Organic

Here’s how to get your first 100 subscribers:

  • Ask your friends/family to join (5–10 guaranteed)
  • Share in niche Facebook groups (with permission)
  • Add the form to your email signature
  • Include it in all blog posts
  • Write a Pinterest or Reddit post with a link to your signup page

Consistency matters more than perfection.


7. What To Email After They Join

Most beginners stop at the signup.

Wrong.

Here’s what to send next:

  • Day 2: A personal blog story or lesson
  • Day 4: A list of useful tools you use
  • Day 7: Your most valuable blog post so far
  • Day 10: Ask a question like “What are you struggling with right now?”

This builds engagement — and trust.


Final Thoughts

Building your first 100 email subscribers isn’t magic — it’s a system.

Start simple:

  • One form
  • One offer
  • One welcome email
  • And share it everywhere

The result? A growing audience you actually own.
And that’s the first step toward real online income.

You don’t need thousands to start.
You just need your first 100.