Introduction
When it comes to building long-term wealth, two titans dominate the conversation: Exchange-Traded Funds (ETFs) and Real Estate. Each has its loyal fans, compelling advantages, and hidden drawbacks. But in 2025, with inflation volatility, remote work, and FIRE (Financial Independence, Retire Early) gaining global traction, the question becomes more pressing:
“Where should I invest for faster, safer, and more predictable wealth?”
This guide breaks down the practical comparison between ETFs and real estate—not from a theoretical standpoint, but from the perspective of actual investors looking for monthly income, capital growth, and freedom. Whether you’re a digital nomad with $30,000 in savings or a working professional planning early retirement, this article will help you choose the better path—or a hybrid of both.
1. Initial Capital & Accessibility
ETFs:
- Entry from $10 to $100. Easily accessible through any online broker.
- No paperwork, no property taxes, no agents.
- Dollar-cost averaging (DCA) possible weekly or monthly.
Real Estate:
- Entry often requires $30,000 to $100,000+ upfront for down payments.
- Requires legal contracts, agents, taxes, and often mortgage qualification.
- Location-dependent barriers: legal restrictions for foreigners, language, and banking challenges.
Verdict: ETFs win on accessibility and scalability.
2. Monthly Income: Dividend vs Rental
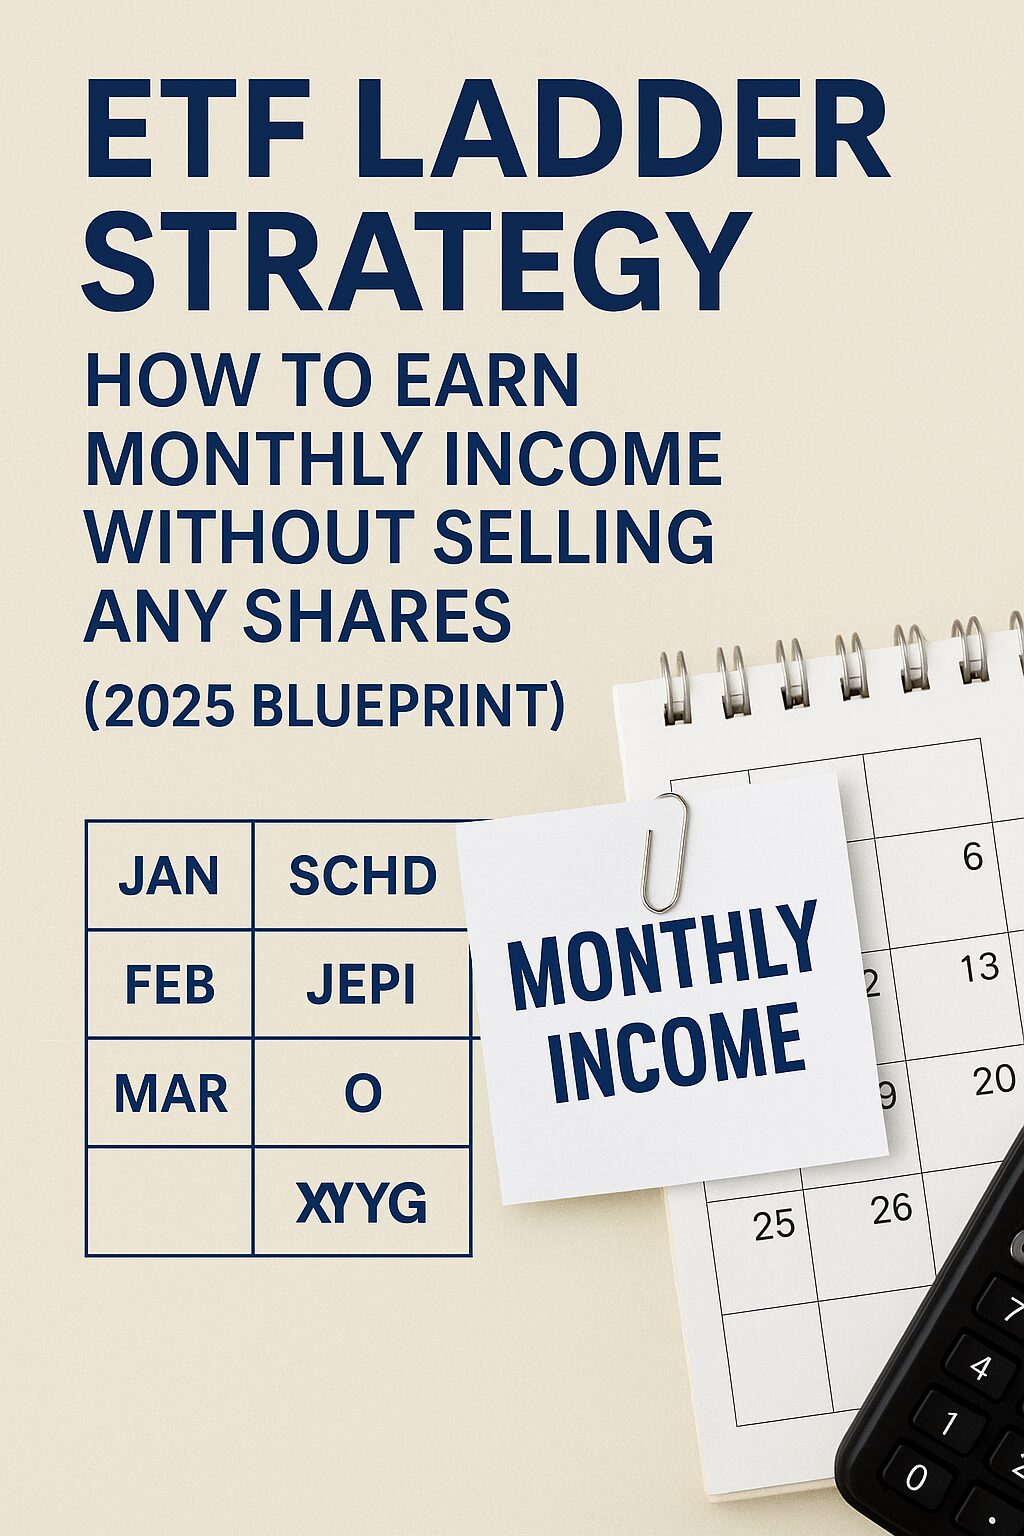
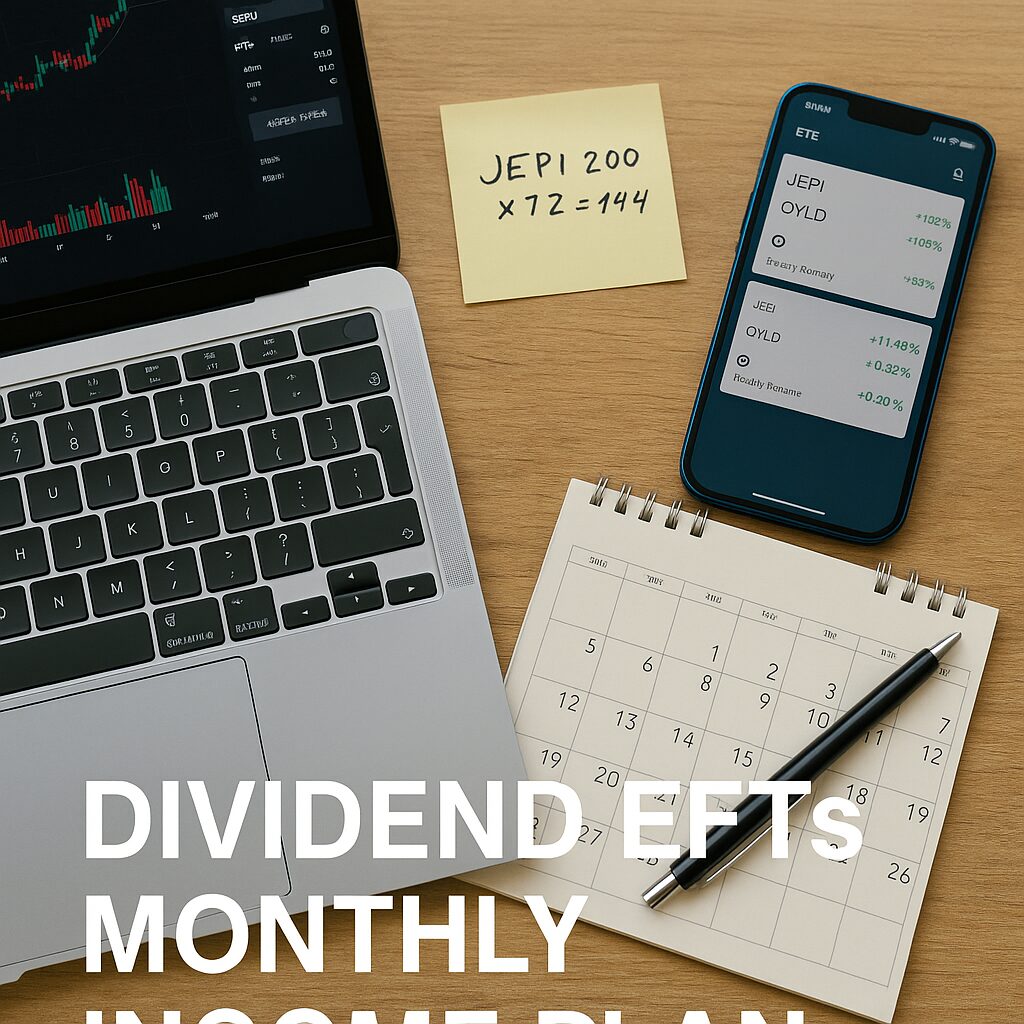
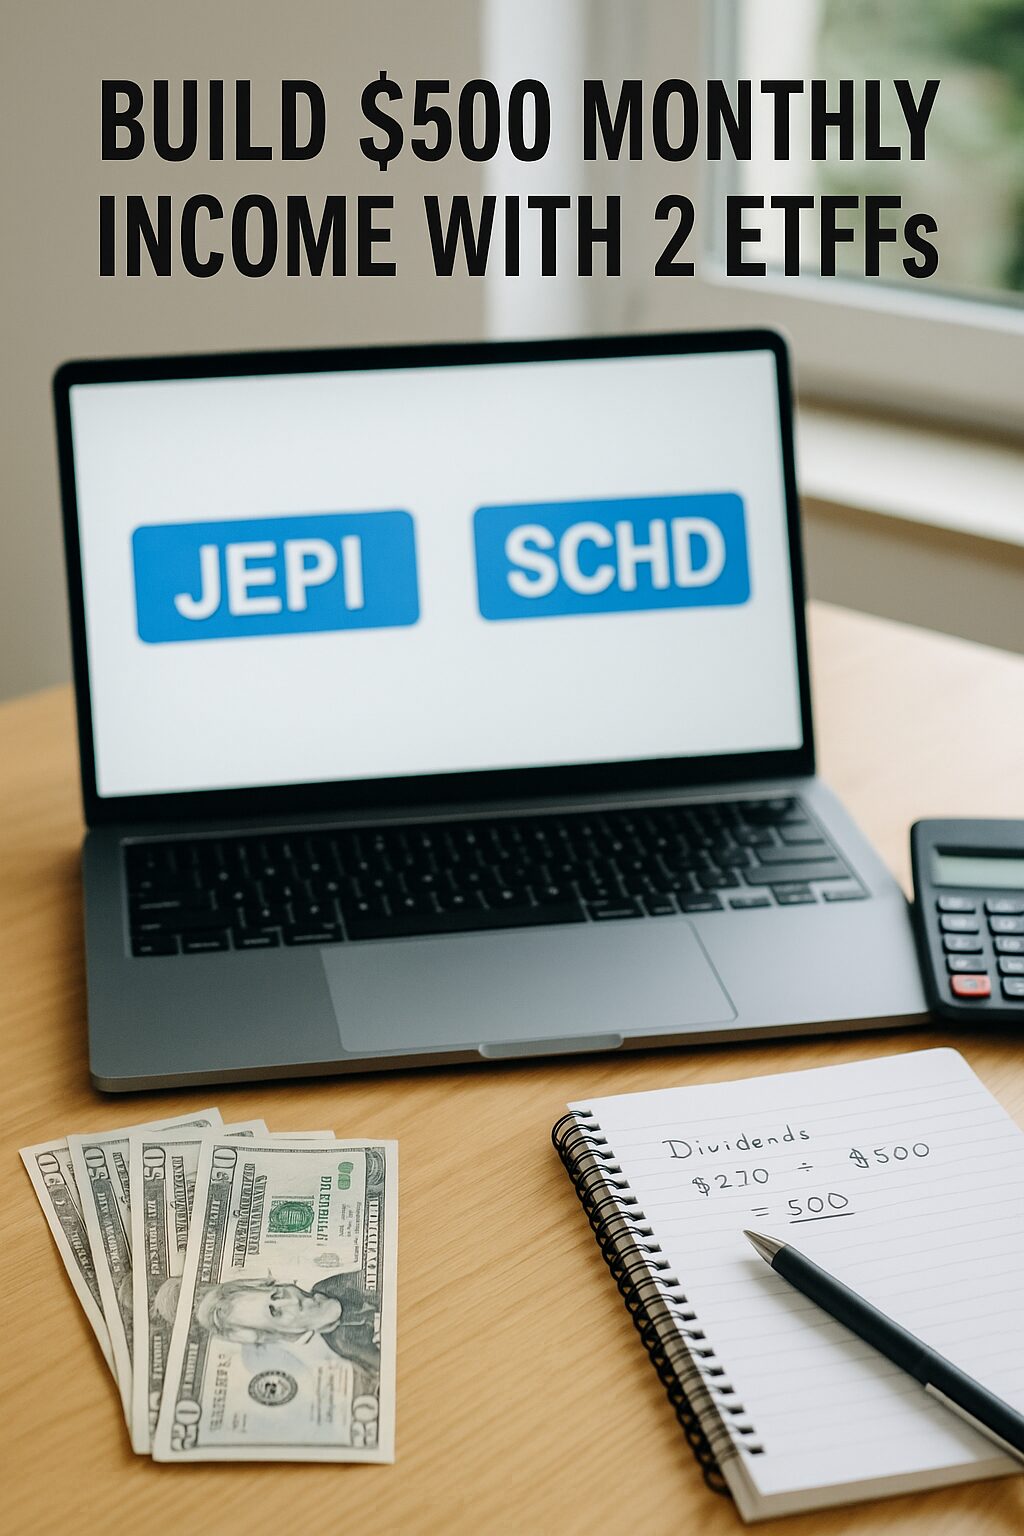
ETFs (e.g., JEPI, QYLD, SCHD):
- Monthly dividend yield ranging from 6% to 12% annualized.
- 100% passive: no tenants, no maintenance.
- No vacancy risk. Auto-deposited monthly.
Real Estate:
- Rental yield varies by market (2% to 8% net).
- Property management required (or hired).
- Vacancy, maintenance, and tenant risk.
Real-World Case:
- $100,000 invested in JEPI in 2025 = ~$800/month passive income.
- $100,000 in a rental property (after mortgage) = ~$500–$700/month, but with risk and effort.
Verdict: ETFs provide more reliable, passive monthly income in most cases.
3. Risk: Market Volatility vs Operational Risk
ETFs:
- Volatility: subject to stock market swings.
- No ongoing expenses or emergencies.
- Global diversification available (VTI, VXUS, BND).
Real Estate:
- Illiquid asset: hard to sell quickly.
- Market risk + local disaster risk (earthquakes, flooding).
- High leverage = higher risk during downturns.
Verdict: ETFs carry less operational risk; real estate carries leverage and localized risk.
4. Liquidity, Management & Flexibility
ETFs:
- 24/7 online access, full liquidity within minutes.
- No tenants, repairs, or legal headaches.
- Great for global citizens and nomads.
Real Estate:
- Difficult to manage remotely without trusted partners.
- Selling takes time and legal steps.
- Immobile asset; can become a liability if relocation is needed.
Verdict: ETFs offer ultimate liquidity and flexibility.
5. Real 5-Year Case Study: $50,000 Investment
| Scenario | ETF Portfolio (e.g., SCHD/JEPI) | Real Estate (Rental) |
|---|---|---|
| Monthly Income | $325–$450 | $250–$400 (after costs) |
| Appreciation | +40% total return | +20–30% (avg property rise) |
| Time Involvement | 30 minutes/month | 5–10 hours/month |
| Risk Profile | Moderate market volatility | High local + tenant risk |
| Liquidity | High | Low |
Result: ETF portfolio slightly outperforms in net income, total return, and peace of mind.
6. FIRE Optimization
If your goal is FIRE (Financial Independence, Retire Early):
- ETFs allow better automation, global mobility, and low-maintenance growth.
- Real estate may provide inflation-protected cash flow, but only if managed well and bought right.
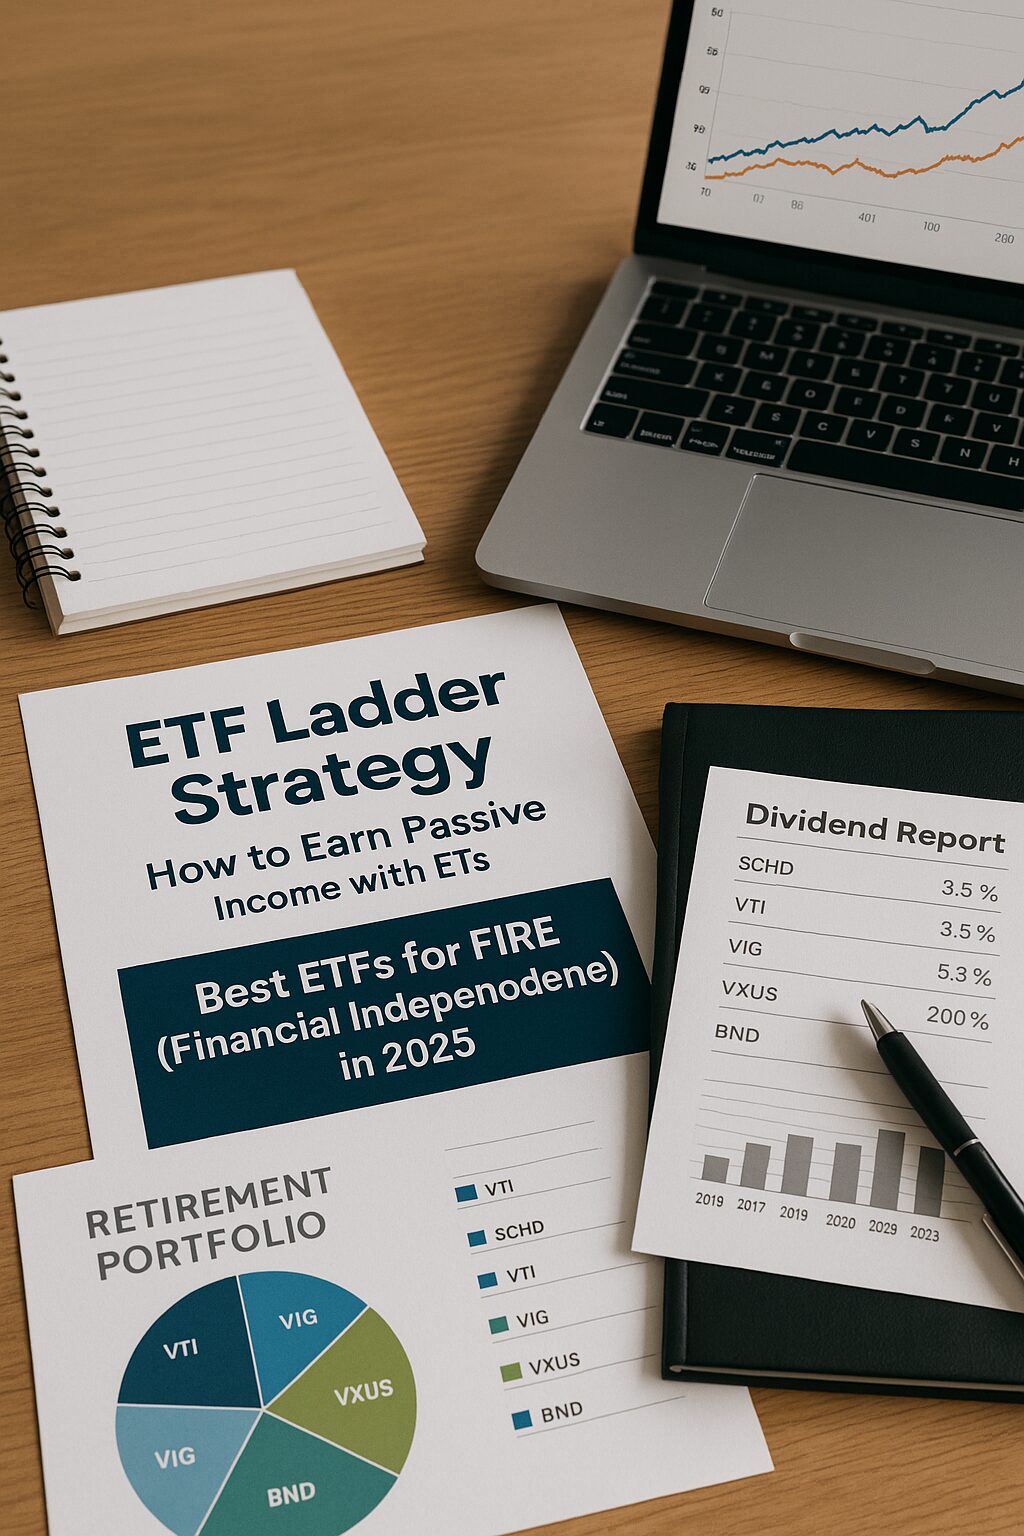
- Many FIRE followers use ETF ladders or dividend snowball strategies with SCHD, VTI, VIG, VXUS.
Hybrid Strategy Option:
- Use ETFs for income + real estate for appreciation.
- REIT ETFs (like O, VNQ) blend both.
Final Verdict: Which Builds Wealth Faster (with Less Risk)?
- ETFs win for digital nomads, expats, beginners, and FIRE-focused investors.
- Real estate fits investors with local expertise, leverage access, and time for management.
- Hybrid investing (JEPI + REIT + small real estate) gives balanced exposure.
In 2025, time and mobility are more valuable than ever. If you want freedom + income, start with ETFs. Add real estate only when you’re ready for higher commitment.
“Assets should work for you while you sleep. The less you touch them, the better they should perform.”