Build Your First 100 Email Subscribers From Scratch – A Beginner’s Complete Guide

A laptop on a clean wooden desk showing a simple email signup form on screen, inviting users to join 100+ bloggers, with a coffee mug beside it

So you’ve launched a blog, maybe posted a few articles, but no one’s coming back. Why? Because without an email list, every visitor is a stranger who disappears. If you want to turn your blog into a real income-generating platform, email is where it starts.

This guide is for complete beginners. No prior experience, no paid tools, no fluff. Just the real, practical steps to build your first 100 subscribers from zero.


1. Why Email? Why Now?

Social media followers aren’t yours. Search engine rankings change. But email? You own that list. It’s a direct line to people who chose to hear from you. More importantly, email converts better than any other channel — whether you’re selling products, sharing affiliate links, or driving traffic back to your blog.

Even just 100 engaged subscribers can bring in hundreds of dollars per month. The earlier you start, the better.


2. Choose Your Tool (No Cost)

If you’re just starting, don’t overcomplicate it. Use MailerLite or ConvertKit (Free Plan). Both are:

  • Easy to use (drag and drop)
  • Free for up to 1,000 subscribers
  • Include email automation and form builders

Setup Steps:

  1. Create a free account
  2. Create your first form (start with “embedded” or “pop-up”)
  3. Connect the form to a subscriber group or tag
  4. Create a simple “Welcome Email” automation

You don’t need a fancy website yet — just a blog post or landing page to embed the form.


3. What Will Make Someone Subscribe?

Answer this first: why should someone give you their email?

The answer is: VALUE.

That means you need a lead magnet — a freebie that solves a specific problem for your ideal reader. Here are examples that work:

  • A checklist: “5 Tools Every Beginner Blogger Needs”
  • A quick PDF guide: “How I Got 1,000 Visitors in 7 Days Without Ads”
  • A mini-template: “Blog Post Format That Converts Readers to Subscribers”

You can create it in Google Docs or Canva. Then export to PDF and upload to Google Drive. Share the link in the welcome email.


4. Where to Place Your Opt-in Form

Don’t just place one form and expect magic. You need visibility.

Put your form in these three spots:

  1. Top of your homepage – even above the blog content
  2. End of every blog post – right when they’ve received value
  3. Standalone sign-up page – like yoursite.com/free-guide

Add call-to-action text like:

  • “Get the free checklist to start your blog the smart way”
  • “Join 100+ new bloggers learning how to earn online”

5. Write a Great Welcome Email

The welcome email builds trust immediately. Keep it short, friendly, and helpful.

Sample:

Subject: Here’s Your Free Guide + What’s Coming Next

Hey [Name], thanks for subscribing! You can download your free guide here: [link]

I’ll be sending one short email each week with a tip to grow your blog and income — no spam, just help.

Let’s grow together!


6. Traffic? Start With Your Circle + Organic

Here’s how to get your first 100 subscribers:

  • Ask your friends/family to join (5–10 guaranteed)
  • Share in niche Facebook groups (with permission)
  • Add the form to your email signature
  • Include it in all blog posts
  • Write a Pinterest or Reddit post with a link to your signup page

Consistency matters more than perfection.


7. What To Email After They Join

Most beginners stop at the signup.

Wrong.

Here’s what to send next:

  • Day 2: A personal blog story or lesson
  • Day 4: A list of useful tools you use
  • Day 7: Your most valuable blog post so far
  • Day 10: Ask a question like “What are you struggling with right now?”

This builds engagement — and trust.


Final Thoughts

Building your first 100 email subscribers isn’t magic — it’s a system.

Start simple:

  • One form
  • One offer
  • One welcome email
  • And share it everywhere

The result? A growing audience you actually own.
And that’s the first step toward real online income.

You don’t need thousands to start.
You just need your first 100.

World Strategies to Build Long-Term Income with WordPress

A workspace with a laptop showing a blog screen, a DSLR camera, coffee mug, and notebook, overlaid with the title "The Ultimate Guide to Making $10,000/Month Blogging"

If you’re aiming to turn your WordPress blog into a real source of long-term income starting today, forget the theory. The world’s highest-earning blogs didn’t get there by writing academic essays — they focused on helping people make real money, solve urgent problems, and act immediately. This guide is based on what actually works.

  1. Create Content That Solves Immediate Problems

People don’t search for “the history of passive income.” They search for “how to make $500 this week from home.” Focus every post on solving an urgent, specific, practical need. For example:

  • How to set up affiliate links in 10 minutes and earn your first commission
  • Where to sell digital products with zero upfront cost
  • The fastest way to start a niche blog that brings traffic in 7 days Include real steps, no fluff, and examples that have worked for others.
  1. Use Income Channels That Work in 2025

Don’t rely on generic display ads. The top blogs today are making real income through:

  • High-converting affiliate programs (look for 30%+ commissions)
  • Evergreen digital products like Notion templates, printables, or niche guides
  • Email sequences that upsell useful tools or services
  • Monthly community memberships or workshops Test different streams, but keep the ones that pay consistently.
  1. Mobile-First UX That Sells

Over 70% of global traffic is mobile. If your site is slow, cluttered, or hard to navigate, you’re losing readers and money. Use a clean layout with a visible call-to-action (CTA). For example:

  • Pin a “Free Download” button on top
  • Link to income-generating pages in your menu bar
  • Show recent posts with income potential right on the homepage
  1. Convert Visitors into Subscribers – Fast

Your email list is your bank account. Offer something people need right now:

  • “Free 3-Day Passive Income Starter Kit”
  • “Download 10 High-Performing Blog Post Templates” Keep the opt-in simple. Send a welcome sequence that includes:
  • What to expect from your emails
  • One high-value income tip per day for 5 days
  • One product or service they should act on now
  1. Track What Brings Revenue — and Scale It

Most bloggers fail because they track page views, not profit. Go deeper:

  • Which blog posts lead to the most affiliate sales?
  • Which emails get clicked the most?
  • Where does your highest-converting traffic come from? Use tools like ConvertKit, PrettyLinks, and Google Tag Manager. Remove what doesn’t work and double down on what does.

Final Note: This isn’t theory. These are field-tested, income-producing strategies used by top bloggers making 5–6 figures monthly. Copy what works. Simplify what doesn’t. Write to serve real people — and you’ll make real money.

Start now. Today’s post could be your first profitable one.

5-Minute Guide: How to Start Micro-Investing Today

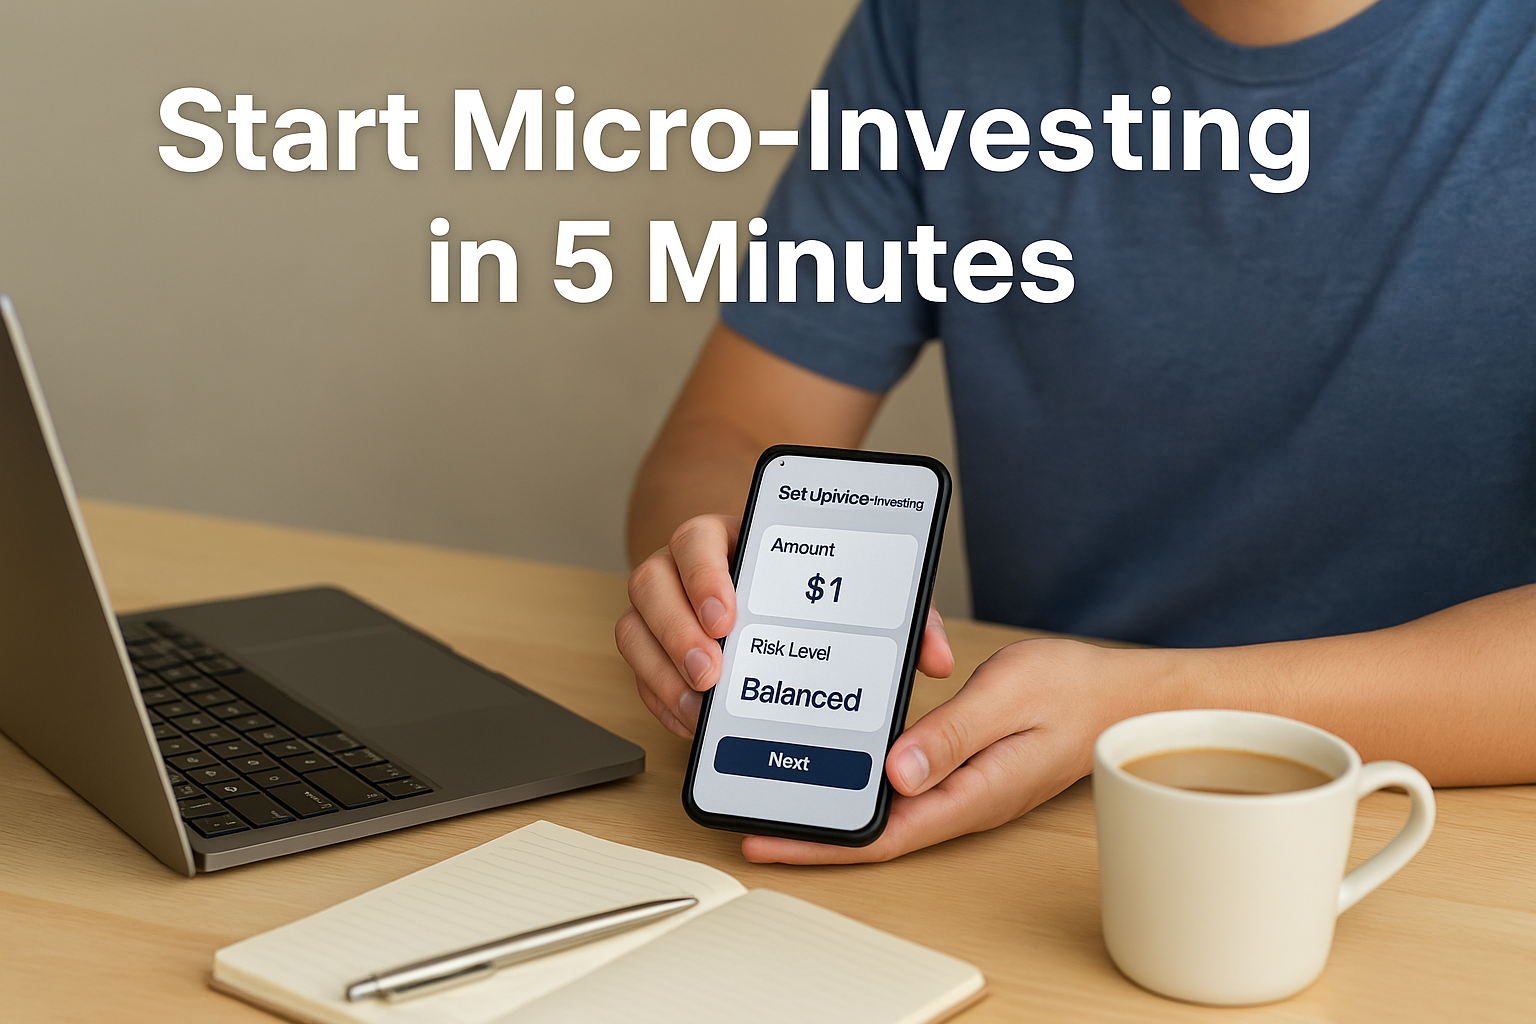
A person using a smartphone to set up a micro-investing app with a coffee and laptop on the desk.

Think investing is complicated? Think again. You can begin your micro-investing journey in just five minutes. No financial background required—just follow these steps:

Step 1: Choose an App
Pick a micro-investing app available in your country. Popular options include Acorns, Revolut, Toss, or Raiz. Read brief reviews and choose one that fits your goals.

Step 2: Link Your Payment Method
Most apps require a debit card or bank account. This allows them to automatically withdraw small amounts based on your rules.

Step 3: Set Up Investment Rules
Decide how the app should invest for you. Common options:

  • Round up spare change from daily purchases
  • Invest $1 daily
  • Weekly or monthly contributions

Step 4: Choose Your Risk Level
Apps usually offer choices like conservative, balanced, or aggressive. Beginners often start with balanced.

Step 5: Let It Run
Once everything is set, the app does the rest. You can check your progress monthly or let it grow quietly in the background.

Bonus Tip: Set a daily reminder for your “$1 habit.” After 30 days, you’ll have not only money invested but a new mindset.

Top 3 Micro-Investing Apps in 2025 (Global Edition)

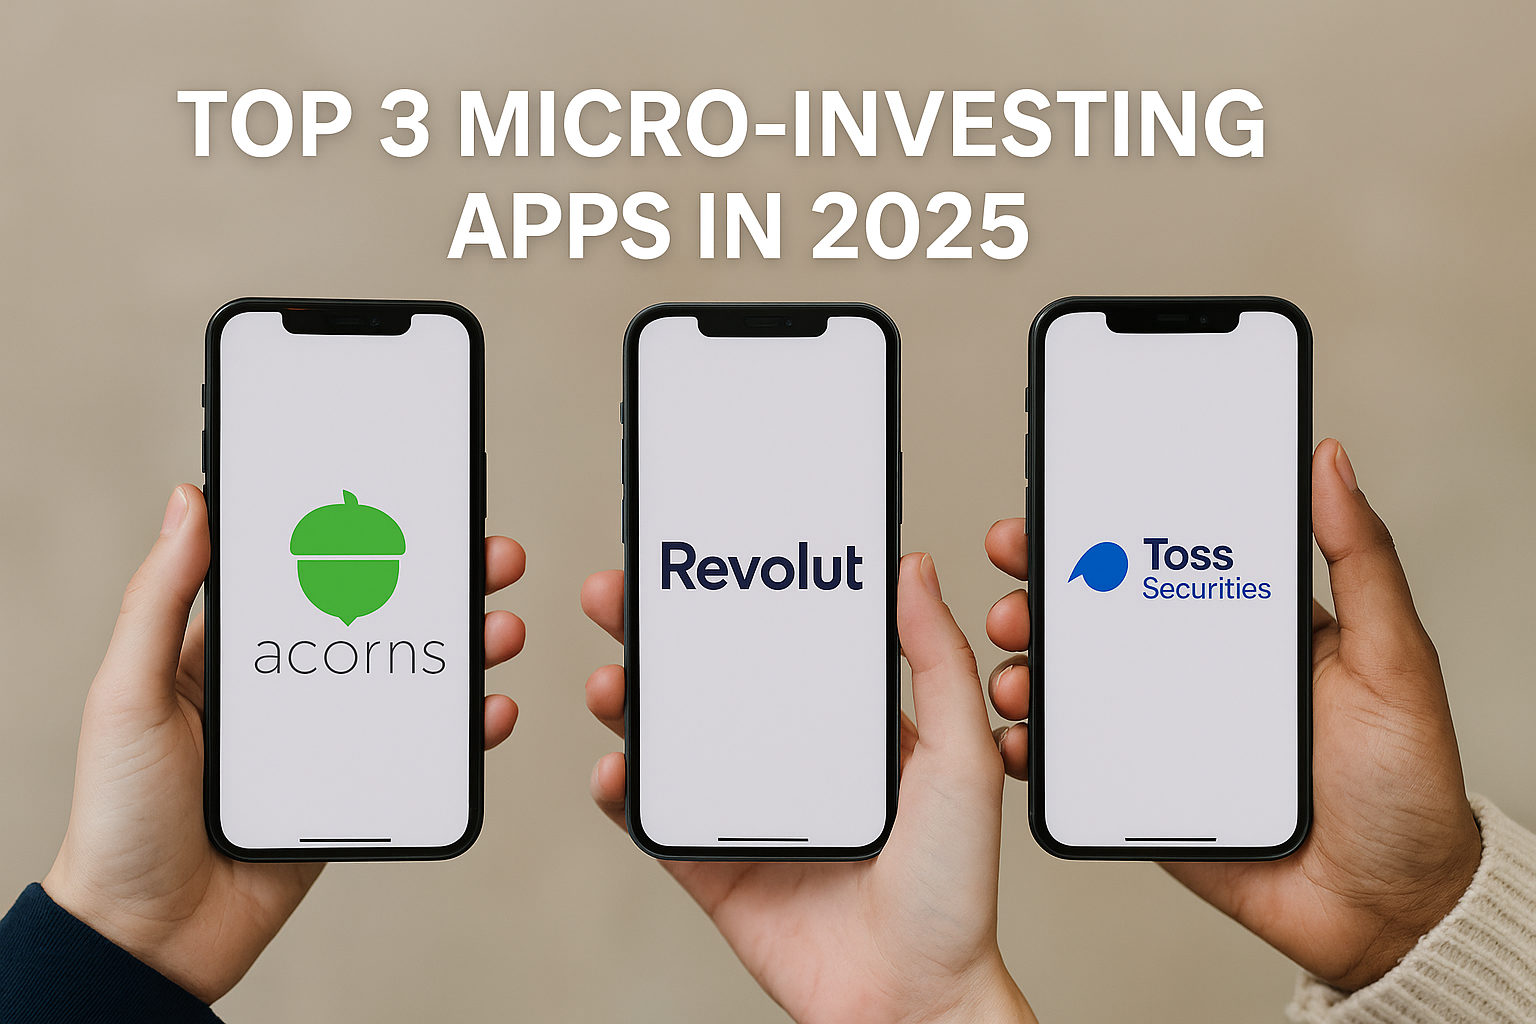
Smartphones displaying Acorns, Revolut, and Toss Securities apps side by side for comparison.

If you’re new to investing, choosing the right app is the first step. Micro-investing apps make it possible to start small and grow consistently. Here’s a quick comparison of the top 3 platforms globally in 2025:

1. Acorns (United States)

  • Start with: Spare change
  • Key Feature: Automatically rounds up purchases and invests the difference
  • Best for: Beginners who want everything handled for them

2. Revolut (Europe/UK)

  • Start with: $1
  • Key Feature: Easy-to-use interface with access to global stocks and crypto
  • Best for: Tech-savvy users who want flexibility

3. Toss Securities (South Korea)

  • Start with: 1,000 KRW (~$1)
  • Key Feature: Seamless access to US stocks with no complicated paperwork
  • Best for: Korean users who want to invest internationally with ease

Each of these apps offers automation, education, and low entry barriers. The best choice depends on your country, goals, and how hands-on you want to be. Whichever you choose, start small—but start today.

The Rise of Micro-Investing: How Anyone Can Start with Just $1

Young person using a smartphone to manage a $1 micro-investment portfolio with a digital investing app.

The Rise of Micro-Investing: How Anyone Can Start with Just $1

Not long ago, investing was only for the wealthy or professionals. You needed a large amount of money, a financial advisor, and often a deep understanding of the stock market. But today, the world has changed. With just one dollar and a smartphone, anyone—literally anyone—can begin their investment journey. This is the new era of micro-investing.


What Is Micro-Investing?

Micro-investing is the act of investing small amounts of money—sometimes even spare change—into assets such as stocks, ETFs, or mutual funds using digital platforms, especially mobile apps. Instead of waiting until you have thousands of dollars saved, you can start with what you have today.

This concept has grown quickly in the last decade. It’s especially popular among young people, students, and first-time investors who are eager to grow their money but are overwhelmed by traditional investment systems.


Why Is It So Popular Globally?

  1. No Wealth Required: You don’t need $5,000 or even $100 to begin. Many apps let you invest with as little as $1.
  2. Easy to Use: Micro-investing platforms are designed for beginners. The apps are simple, visual, and offer step-by-step instructions.
  3. Automated Tools: Most platforms offer automatic investments, round-ups (investing your spare change), and portfolio balancing.
  4. Low Risk Entry: Because you invest small amounts, the risk feels manageable. This encourages consistent investing habits.
  5. Education Included: Many apps offer free education and financial literacy tools. You can learn as you invest.

The Most Popular Micro-Investing Apps by Region

United States

  • Acorns: Connects to your debit card and rounds up each purchase to invest the spare change. Simple, automatic, and beginner-friendly.
  • Stash: Allows you to start investing with $5 and offers access to individual stocks, ETFs, and even banking features.

Europe & UK

  • Revolut: A popular fintech app that includes stock trading. Known for low fees and beginner tutorials.
  • Trading212: Commission-free investing with fractional shares. Ideal for beginners.

Asia

  • Toss Securities (Korea): Offers access to US stocks starting from 1,000 KRW. Extremely user-friendly and rapidly growing.
  • Groww (India): Provides an easy way for Indians to invest in mutual funds and stocks with a mobile-first approach.

Australia

  • Raiz: Similar to Acorns. Offers round-up investing, automatic rebalancing, and savings goal features.

Real-World Example: Investing $1 Per Day

Let’s imagine you begin investing just $1 every single day, without skipping.

  • In 1 year, you invest $365.
  • Assuming a modest 7% annual return, you’d have about $390–400.
  • In 5 years, that $1-a-day habit becomes about $2,300–$2,600.
  • In 10 years: more than $5,200–$6,000, depending on market performance.

Now, imagine if you increased it to $2 or $5 a day. That small habit can become thousands of dollars over time—thanks to compound interest.


How to Start in 5 Minutes

  1. Download a reputable app (based on your country).
  2. Link your payment method—usually a debit card or bank account.
  3. Choose your investment plan—daily, weekly, or round-up.
  4. Set risk level (conservative, balanced, or aggressive).
  5. Let it run automatically—check in monthly or quarterly.

No need for charts, analysis, or day trading. You’re building wealth passively through smart habits.


Common Fears (And Why You Should Ignore Them)

  • “What if I lose all my money?”
    With diversified portfolios and low-risk options, most apps spread your money across many assets. This reduces risk significantly.
  • “I don’t understand finance.”
    That’s fine. Micro-investing apps are built for beginners. You’ll learn by doing.
  • “What’s the point of just $1?”
    Starting is the most important part. The habit is more valuable than the amount. Once you build the habit, increasing the amount becomes easier.

Bonus: How Teenagers and Students Use Micro-Investing

Many students now use micro-investing to build long-term savings while in school.
Some set rules like “invest $1 for every coffee I skip” or “invest 10% of my allowance.”

By the time they graduate, they may have several hundred or even thousands of dollars invested—without ever feeling like they “lost” the money.


Final Thoughts

Micro-investing is not a get-rich-quick scheme. It’s a get-rich-slowly-and-safely approach.
You’re not trying to beat the market or become a day trader. You’re trying to build healthy money habits and slowly grow your savings over time.

If you’ve ever thought investing is only for rich people, this article should prove that idea wrong.
All you need is $1. And a little bit of patience.

Start today.
Start small.
Stay consistent.
And watch your future grow.

Best Cities for Digital Nomads in 2025 (Safe, Cheap, and Fast Wi-Fi)

"A collage of five cities—Chiang Mai, Tbilisi, Lisbon, Playa del Carmen, and Tallinn—representing the best places to live and work remotely in 2025."

Not every city is great for remote workers. You need fast internet, safety, a low cost of living, and a global community. In 2025, here are the top cities that offer it all:

1. Chiang Mai, Thailand

  • Reliable Wi-Fi and tons of coworking spaces
  • Low rent and great street food
  • Friendly for beginners and long-term nomads

2. Tbilisi, Georgia

  • Very affordable and safe
  • Visa-free for many nationalities
  • Unique mix of Europe and Asia

3. Lisbon, Portugal

  • Top-rated for weather, lifestyle, and digital infrastructure
  • Easy to meet other nomads
  • Access to EU healthcare and long-stay visas

4. Playa del Carmen, Mexico

  • Caribbean beach life + low costs
  • Remote work–friendly cafés
  • Visa extensions are easy

5. Tallinn, Estonia

  • Tech-savvy, efficient, and English-friendly
  • Home of the world’s first digital nomad visa
  • Quiet but super connected

Choose a city that fits your vibe—but make sure it works for your work.

How Much Does It Really Cost to Live Abroad in 2025?

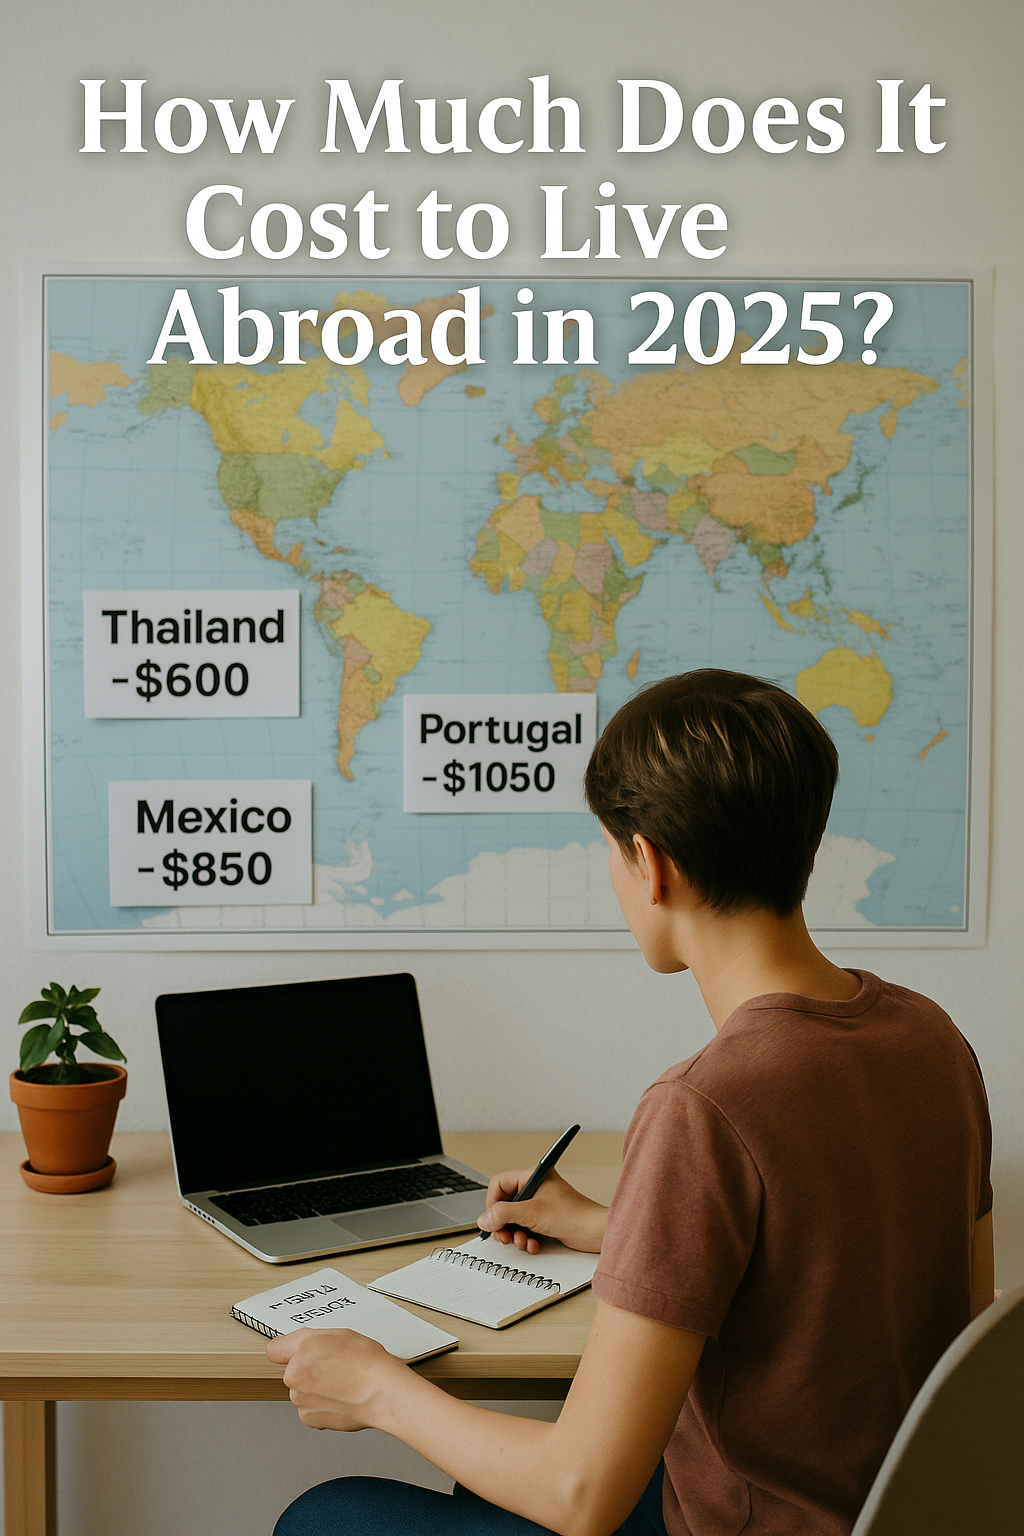
"A solo traveler comparing monthly living costs of countries like Thailand, Portugal, and Mexico using a world map and laptop."

Thinking of moving abroad? Before packing your bags, it’s smart to know how much life really costs in other countries. Here’s a snapshot of average monthly living costs in 2025 (for one person, modest lifestyle):

1. Thailand (Chiang Mai)

  • Rent: $300
  • Food: $200
  • Wi-Fi & Utilities: $50
  • Total: ~$600/month

2. Portugal (Lisbon suburbs)

  • Rent: $700
  • Food: $250
  • Transport & Bills: $100
  • Total: ~$1,050/month

3. Mexico (Playa del Carmen)

  • Rent: $500
  • Food: $250
  • Extras: $100
  • Total: ~$850/month

4. Georgia (Tbilisi)

  • Rent: $400
  • Food: $200
  • Utilities: $50
  • Total: ~$650/month

These are just starting points. Real costs depend on your lifestyle and choices.

Tip: Cook at home, use public transport, and share housing to save more. Living abroad doesn’t have to be expensive.

Top Countries Offering Digital Nomad Visas in 2025

"A digital nomad looking at an airport arrivals screen showing countries that offer digital nomad visas in 2025."

In 2025, more countries are welcoming digital nomads with special visas. These visas let you live and work abroad legally—even if your job is online.

Here are some of the best countries offering digital nomad visas this year:

1. Portugal

Portugal offers the D7 visa. If you earn income online or from remote work, you can stay long-term. It’s affordable, safe, and has great internet.

2. Spain

Spain now has a digital nomad visa for remote workers. You must show proof of income and work for a company outside Spain. Cities like Valencia and Malaga are popular choices.

3. Costa Rica

With its “Rentista” visa and newer nomad options, Costa Rica lets remote workers enjoy tropical life while working legally. Great for nature lovers.

4. Estonia

Estonia was one of the first to launch this kind of visa. It’s perfect for tech-savvy nomads looking for a low-cost, efficient European base.

5. Mexico

Mexico offers a temporary resident visa that suits online workers. The cost of living is low, and beach cities like Playa del Carmen are remote-work friendly.

Tip: Always check income requirements, tax rules, and health insurance needs before applying. Every country has its own rules.

How to Move Abroad in 2025 (Even If You’re Not Rich)

"A person with a backpack walking through an airport toward signs for low-cost global destinations in 2025."

Moving abroad sounds expensive—but in 2025, it’s more possible than ever to do it on a budget. You don’t need to be rich. You just need a smart plan.

1. Choose Affordable Countries

Pick a country where the cost of living is lower than your home country. Places like Portugal, Vietnam, Mexico, and some parts of Eastern Europe offer great lifestyles for less money.

2. Use Remote Work or Online Income

You don’t have to get a local job. Many people now earn money online as freelancers, content creators, or remote workers. Sites like Upwork, Fiverr, and remote job boards help people work from anywhere.

3. Apply for the Right Visa

Look for “digital nomad visas” or long-term residence options. Countries like Portugal, Spain, and Costa Rica now offer simple visa programs if you have online income.

4. Reduce Your Monthly Expenses

Sell things you don’t need, cancel unused subscriptions, and avoid debt. When you live simply, it’s easier to save and move.

5. Start Small, Then Expand

You don’t need to move forever. Try 1–3 months in one place. Use that time to test how you feel living abroad, meet people, and plan the next step.

You don’t need a big bank account to start a new life. You need a goal, a simple plan, and the courage to take the first step.